Is White Balance Important?
I think to get to the root of this question we will first need to examine what white balance actually is, and then ask ourselves if we are using raw as our filing system (as I explained in my last article, you should be using raw), then is white balance important when you will inevitably edit it in Lightroom or Photoshop?
White balance can affect the representation in the whole image, so it is an important concept to know and understand.
What is White Balance
White balance can also be known as colour balance, grey balance and neutral balance because it refers to how colours are rendered by the camera’s sensor.
It is a balance between the primary colours (red, blue, and green) to render the colours of a scene true to what they ought to be.
This means that the way the camera can see and interpret colour from a scene can be directly affected by the light on the subject, for example the Golden Hour sun light is a lot more orange than an office fluorescent tube, which is a lot more blue. The camera will try and correct the colour of the light to render a scene neutral and not tinted orange or blue.
White balance therefore refers in most part to the temperature of the image, orange is warm and blue is cold, and is normally rated by Kelvins as the unit of measure.
This means that a low number of Kelvins, such as 2700-3000K will render the picture warmer or more orange, while a higher number of Kelvins, such as 5000-8000K will render the picture cooler or more blue.
As a side note, the reason it is called Kelvin is because the scale is based on the colours of burning carbon recorded by the scientist Lord Kelvin and his Kelvin temperature scale which is the scientific standard unit of temperature, so 2700K is the temperature of the orange flame of a Bunsen burner and 8000K is the temperature of the blue flame of a Bunsen burner, interesting fellow!
Now we know that white balance refers to temperature of the colours, let’s look at the camera white balance settings and what they do to an image.
Canon Camera White Balance Settings
All cameras come with some preset white balance settings, which have a specific Kelvin rating given to them and a symbol which is meant to represent the conditions that they should be used.
The Kelvin figures below refer to what the light temperature is supposed to be and the camera uses this number to create a balance by going the other way.
For example, the shade light is calculated as 7000K, which is quite blue/cool, and the camera’s Shade setting will lower the number to make it more orange/warm.
AWB - Automatic White Balance, the camera tries to calculate what the white balance ought to be based on what the sensor is reading
Daylight - 5200K meant to be used bright sunshine and gives a slight orange/warm colour to counteract the cooler light of the sky
Shade - 7000K meant to be used in areas of light shade and gives an orange/warm colour to counteract the cold colour of the shade
Cloudy - 6000K for when the sun is blocked by clouds, giving a diffused light and again it gives a slight orange/warm colour
Tungsten - 3200K for use with tungsten lighting and gives a blue/cool colour
Fluorescent - 4000K for use with fluorescent lighting, but not a fail safe and also renders a slightly blue/cool colour
Flash - 6000K for use with flash guns and gives a slight orange/warm colour
Custom White Balance - allows you to choose an area of the image which is meant to be white and the camera will calculate the correct Kelvin to render it white
Kelvin - allows you to manually set the colour temperature in 100K increments from 2500K to 10000K
That’s what the camera settings do but the big question is, does it matter?
RAW and White Balance
If you are shooting in raw, which I hope you are, then it doesn’t matter which white balance setting you use because as raw files are uncompressed you can adjust them using your post processing software.
As mentioned in RAW vs JPEG, if you shoot in JPEG all the information your camera is recording is compressed that includes white balance!
But if you shoot in raw it means that the information concerning white balance is malleable and can be changed on the computer. You will be able to change the colour temperature to make an image more orange/warm or more blue/cool based on what you think the image should be.
Plus not only can you adjust the temperature on the warm-cool scale, you can also adjust the Tint.
Tint is the other half of the white balance and is equally important to render an image in the correct colour balance, it handles the Green-Magenta scale.
Some of the camera settings mentioned above also affect the green-magenta as well, for example the fluorescent setting will give a slight Magenta tint as fluorescent lights can emit a slight green light.
Furthermore some filters that can be used in camera will give a colour cast to the image, which ought to be corrected.
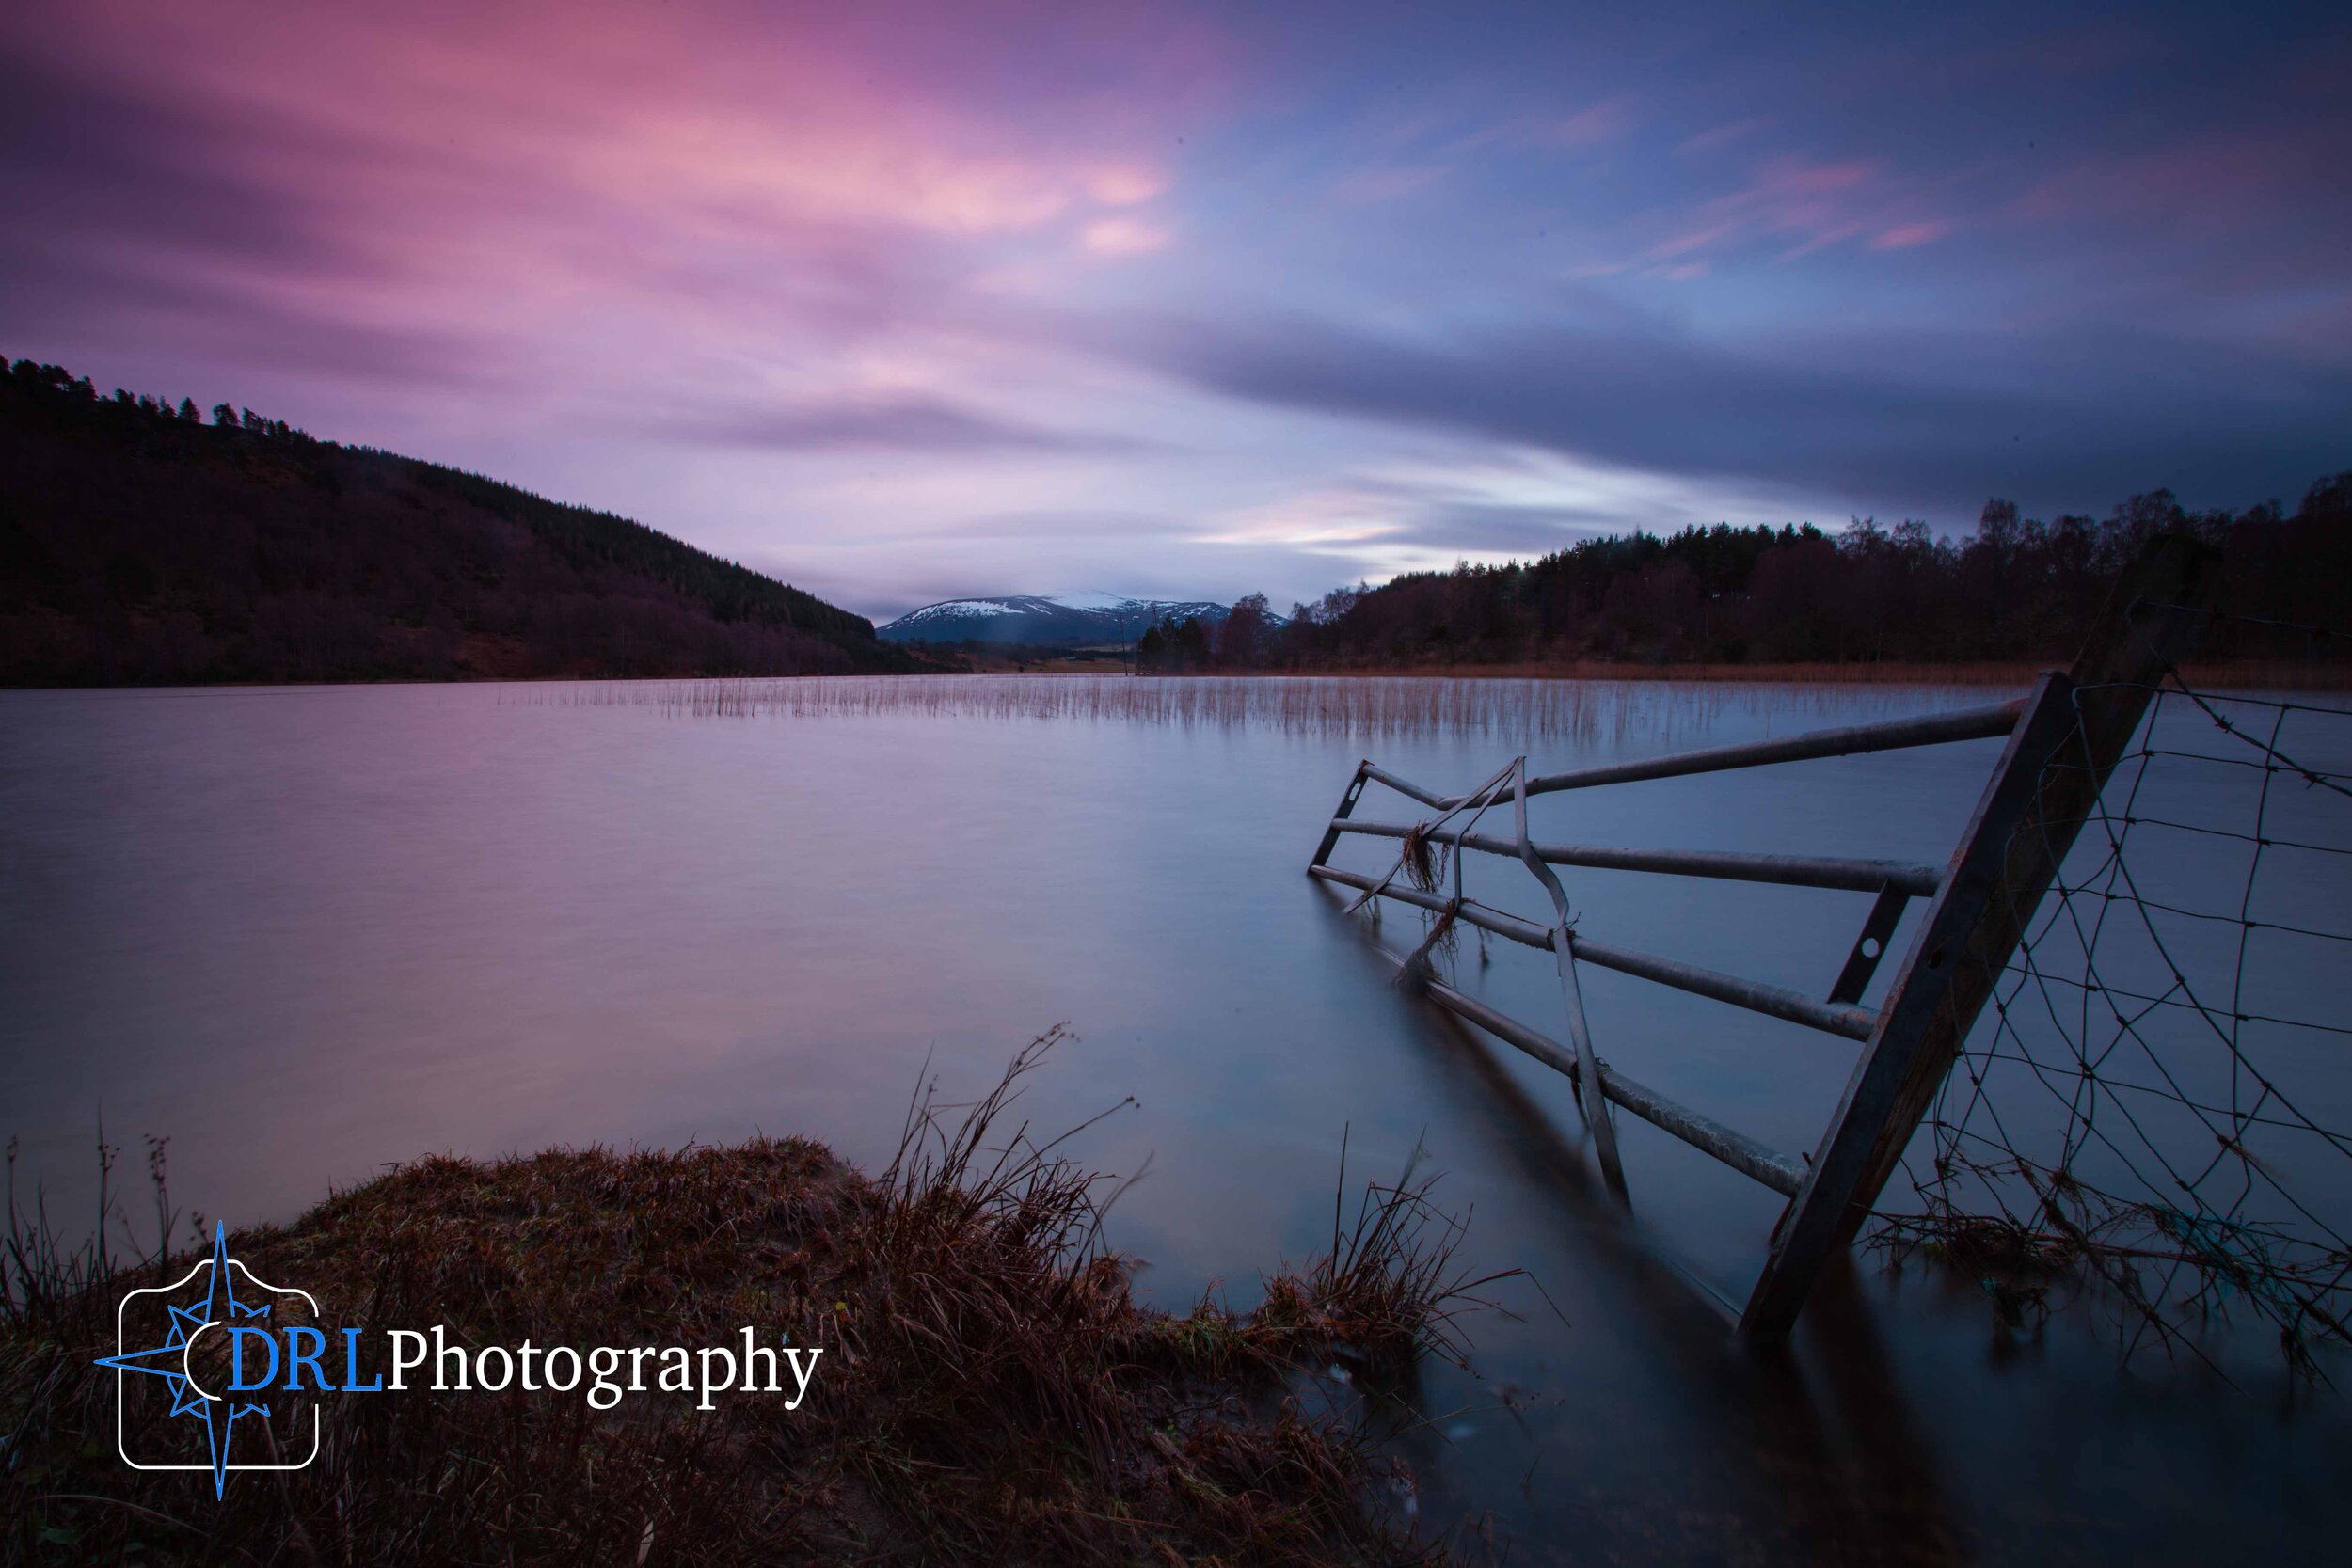
If you look at the example image of Loch Pityoulish above (to be clear, I took this years ago before I learned this stuff!) The filter I used that day actually imparted a magenta colour cast to the image, which if I had shot now I would have corrected and if I had a RAW file I could correct that now (this is why I am so vehement that you should be shooting in raw!)
Adjusting White Balance
With all that in mind, once you have imported your images from your camera it is now time to begin editing your images and you should edit your white balance.
If your image has something in it which is meant to be white but is currently orange or blue than that gives you a simple guide, all you need to do is adjust temperature and tint until that white element is actually white! So simple!
If on the other hand there if no white element then you need to adjust the temperature to what you feel it ought to be.
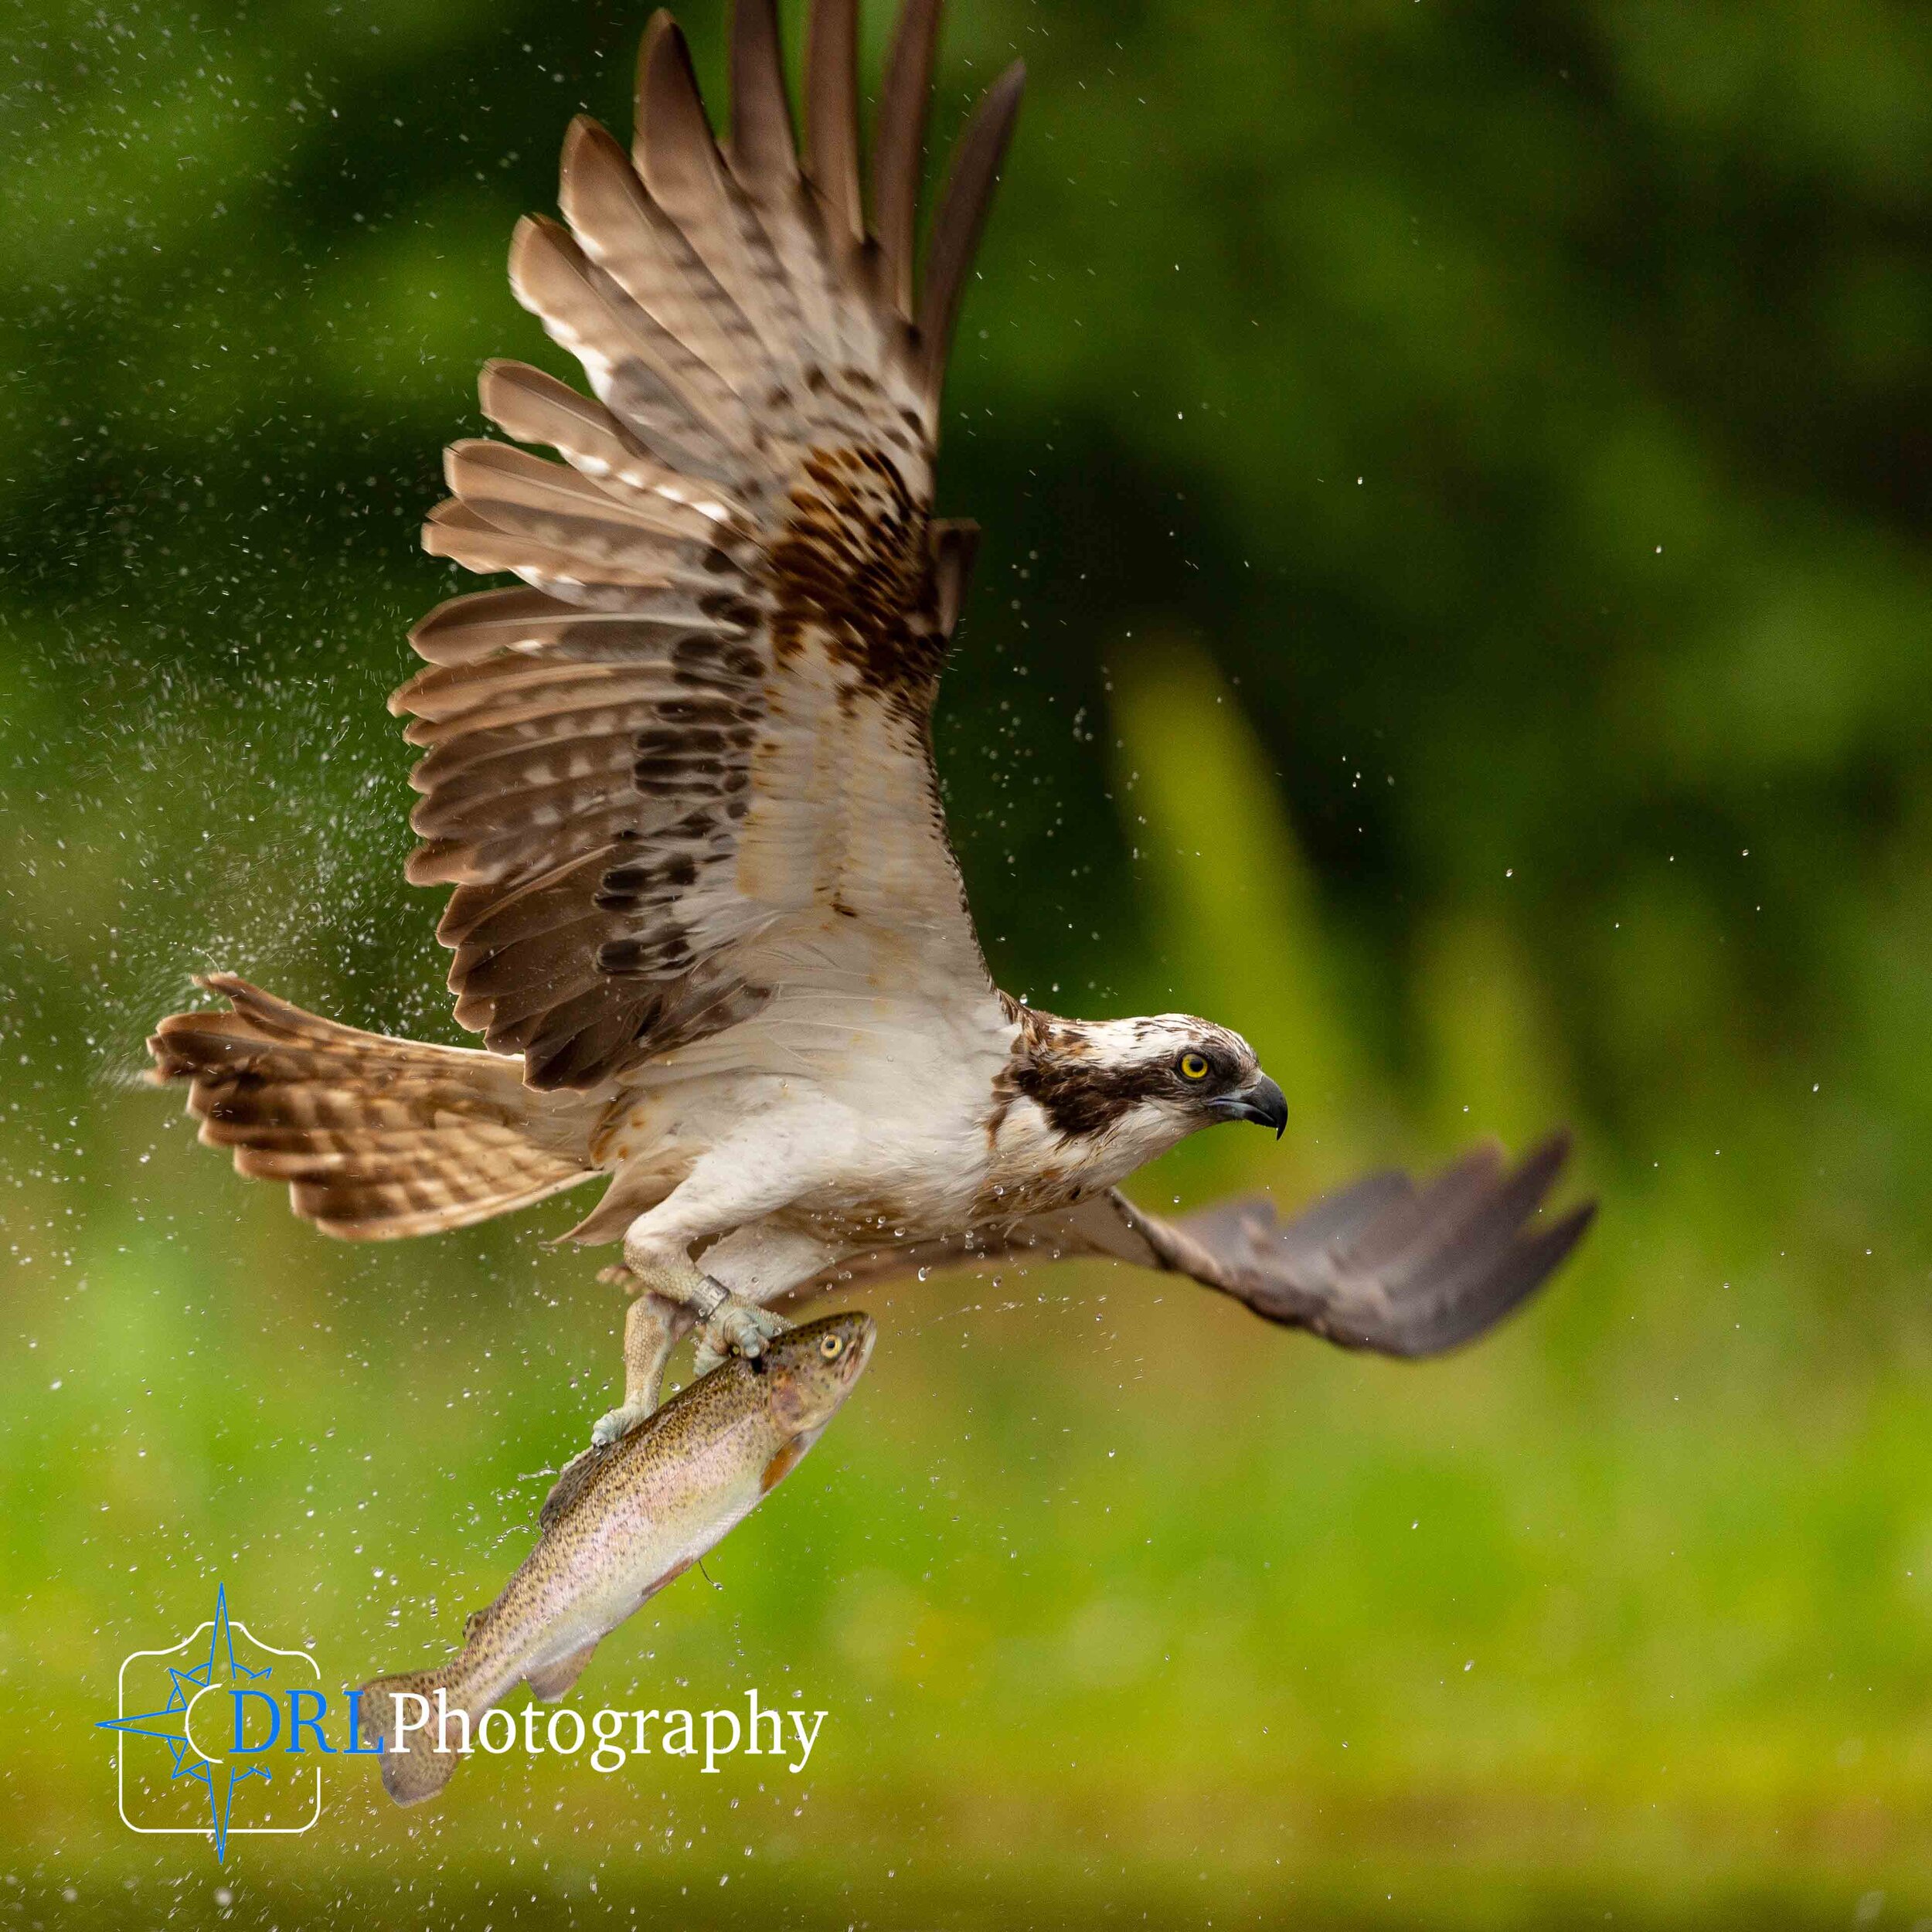
For example, my osprey images have a slight warm temperature because I feel that that makes the bird look more alive and better represents the summer season from when they were taken, and if I adjust it to be a bit bluer I feel the image is too cold, almost wintery. And an osprey is not pure white anyway! They are naturally a bit creamy in colour.
The important point to note is that you can use colour temperature and tint for creative interpretation of the scene, to make a picture feel like the summer or winter.
The CSI franchise is perfect example of this: CSI the original uses a bluer white balance to emphasise the morbid and scientific nature of the programme, while CSI: Miami uses a heavy orange white balance to make it feel tropical and summery, and CSI: New York uses a green tint for the edginess of the city. All 3 have a distinct white balance to impart a particular theme on to the programme and the viewer. So experiment and use white balance creatively.
Conclusion
White balance is important but it is not that important in camera if you are shooting raw files because as soon as you import those images you can make the necessary adjustments to render the image looking correct.
Personally I have my camera set to shade 90% of the time and then I adjust the white balance on the computer, often cooling it. The reason I do this is because I can compare images quickly in camera and I prefer the warmer end of the scale. Sometimes even with a very warm white balance like shade, the image still has a cool look to it and that is due to the light.
Either way I spend the time to adjust the temperature and tint to get the image looking the way that I want it to look in the end. I know a lot of photographers that use Auto White Balance and then do the necessary adjustments on the computer as well, but in my opinion, canon camera often are a bit cool and I prefer the warmer feel.
Either way it doesn’t really matter because as soon as the image is on the computer I will adjust it accordingly! And that is the most important thing.
Related Articles
Written by Daniel Long
Daniel Long created DRL Photography as a place to showcase his work as a photographer. Daniel has learnt a lot about photography and wishes to impart this knowledge with you, although the world is an ever changing place and he always says “you can never learn everything.” So as he makes his way, he continues to learn knew techniques, skills and information about photography. He focuses on Landscape and Wildlife photography and Daniel has a special focus on Scotland, his home away from home. As well as writing about photography and taking pictures out in the field, Daniel offers guided photography days so he can share his knowledge and locations in an effort to give his clients the best opportunities possible. Have a browse around this website to see his images, guided experiences and articles about photography. If you have any questions don’t hesitate to get in contact.


